Millet Farm Squash offer

Millets Farm PumpkinsA trip to Millet’s Farm Centre in Frilford, Oxfordshire, is a fantastic day out with the kids. We had some friends staying this weekend and drove down there on Saturday to see the farm animals and falconry centre, play in the playground and have a walk in the woods. You can take a picnic or they’ve got a canteen serving basic home cooked food.

There’s always some deals going in the huge Farm Shop where they sell local organic produce. I spied these beautiful pumpkins and stocked up on a few for the months ahead. Pumpkins keep really well in a cold dry store like the garage. They can be roasted with cumin, blitzed into a hearty soup or even make into some frugal pumpkin brownies. The small stripy kind are harlequin squash and taste particularly sweet with a honey like quality.

Eggshells make bioavailable Calicum

Okay, so if you’ve been reading my blog regularly you’ll know that I’ve become slightly obsessed with the contents of my food waste bin. But if you’re reading this for the first time you’ll probably think I’m going mad.

Organic farm egg shells make calciumBefore attempting to feed the family for just £100 a month using local produce I now realise that I was extremely wasteful of food. It wasn’t intentional, I just didn’t understand how I could make delicious meals out of food that was destined for the bin. Having discovered that potato peelings make great crisps, that vegetables skins and chicken bones make a delicious soup and that orange and lemon peel contributes to the zing-iest cake I’ve ever made, I was staring at the shells of our locally sourced farm eggs and thinking how wasteful to chuck them, when I had a brainwave!

The composition of eggshells is remarkably similar to our bones and teeth.

Crushed eggshells make bioavailable calcium supplementEggshells contain 27 essential micro-nutrients, as well as an abundance of calcium. Milk and dairy have long been promoted as high calcium foods, but the calcium in them isn’t bio-available which means our bodies can’t access it easily. The calcium from egg shells is 90% absorbable by our bones. That’s even more readily available to the body than many expensive supplements. Plus eggshells contain other important minerals for bone health including magnesium and phosphorus that dairy products don’t contain. So if you’re dairy free or lactose intolerant or just wishing to boost your calcium intake, I totally recommend you try this.

To make calcium from eggshells;

Calcium supplement made from eggshellsSimply immerse the empty shells in boiling water for about 5 minutes to kill any bugs. Let them sit over night to dry out. If needed you can put them in medium temperature oven for a few minutes until they are brittle. Now grind the shells in a coffee grinder or just use a pestle and mortar. Store in an air tight jar. You only need to take 1/4 tsp a day which can be mixed into porridge or a smoothie or simply taken with water.

Only organic eggs should be used as other eggs may contain trace antibiotics and other chemicals used in conventional methods of raising chickens. As a rule of thumb, the harder the eggshells the better the quality and mineral rich. Battery chicken eggs will be much more brittle.

This is the reason I love #Oxford!

Honesty box eggsWhen you’re driving along a country road. The sun is beaming and it’s a crisp and cold almost Spring day. At the corner of the road is a sign with Free Range Farm eggs for sale. You pull up and there they are, probably laid that morning, half a dozen beautiful eggs, still with the fluff on ready and waiting to be bought for only £1.

Not only than but there’s no one in site to take the money. Just an honesty box at the side. I love the community spirit and trust of the people in Oxford. It makes me proud and happy to live here.

These eggs were found on route from Islip to Headington. I’m sure there’ll be more around it you keep your eyes peeled!

Millet Nut Bars (19p a portion)

There’s have become a family favourite. They are nutty and filling, a great grab-and-go breakfast, as well as being free of refined sugars and extremely tasty. Millet as described in my last post (millet salad) is a versatile grain full of minerals and B vitamins. It’s also naturally gluten free. I had a cup of cooked millet leftover from making millet salad last week, and thought it would be good replacement for oats in a flapjack type bar. Here’s the recipe –

Millet and nut granola barWhiz 1 cup of mixed nuts in a blender until finely chopped (but not powder), add these to 1 cup of cooked millet, and 1 cup raisins and set aside.

In the blender again place 1 large (or 2 small) ripe banana, 2 tbsp of peanut butter and 5 dates. Blend together into a gooey runny mixture. Add the wet mixture to the dry and mix thoroughly. Line a 9 x 9 inch baking tray with baking paper. Spread out your mixture evenly pressing with a spatula.

Place in an oven pre-heated at gas mark 4 / 175 C / 350 F for 20-25 minutes until golden brown and smelling delicious. Allow to cool completely then cut into 12 squares and enjoy as a snack or as breakfast on the go. Healthy and scrumptious!

Budget?

1 cup (175g) of cooked millet = 15p
1 (150g) cup of nuts (we used cashews) = £1
Banana = 20p
2 tbsp (32g) peanut butter = we make our own for £1 a 250g jar = 32p
5 dates = 20p
1 cup (150g) raisins = 40p

Total = £2.27 (19p a portion)

Millet Salad (43p a portion)

Millet saladI’ve been experimenting with Millet recently. While millet has been used primarily for birdseed and livestock fodder in Europe, it is now gaining popularity as a delicious and nutritious grain that has gained in popularity because it is naturally gluten-free.  It’s good for making creamy like mashed potatoes or fluffy like rice, and goes well with many types of food. It’s got a cous cous or quinoa like quality and is a very versatile grain – excellent for making porridge, salads and even cereal breakfast bars as I’ve just discovered. It’s also good source of some very important bone nutrients, including copper, manganese, phosphorus, and magnesium.

It’s also remarkably cheap coming in at about £2.50 kg. Not as cheap as cous cous but much more nutritious! I made a large batch up last week and we’ve been eating it for lunch sprinkled with sprouted chickpeas and salad. Here’s the recipe –

Weigh out 200g (1 cup) of dried millet. In a large, dry saucepan, toast the raw millet over medium heat for 4-5 minutes or until it turns a rich golden brown and the grains become fragrant. Don’t let it burn. Add 2 cups of water and a pinch of salt, give it a good stir and bring to the boil. Simmer with the lid on until all the water is absorbed (about 15 minutes). Switch off the heat and let the millet stand and steam for 10 minutes – this way all the water is absorbed and the grain becomes lovely and fluffy.

Millet (like cous cous) is very versatile, so it’s a perfect way to get rid of leftover veg. I used cucumber, tomato, some grated red cabbage, fresh herbs and sprouted chickpeas and seasoned with salt, pepper, lemon juice and olive oil. It would be delicious with some crumbled feta and toasted nuts and seeds too!

Budget?

200g millet = 50p
Herbs = from the garden
Lemon, olive oil, salt & pepper = 20p
Vegetables & chickpeas = £1

Total = £1.70 for 4 (43p per portion)


Orange & Lemon peel Cake

Having suddenly experienced an epiphany about how much food we’ve been wasting – I’ve been discovering ways to use up food that would usually end up in the bin. Check out my potato peeling crisps, food waste soup and home made focaccia – they’re all delicious!

Orange and lemon peelThis cake is a take on Nigella’s clementine and almond cake, but instead of using whole fruit, we’ve been saving up our orange and lemon peels from the past week. All you need to do, is to boil the skins of the fruit for 30 minutes until they are lovely and soft. Then blitz them into a fine pulp. Now add them to any plain cake recipe you want jazzing up.

Carrot and orange almond cakeFor example, you could make a classic Victoria sponge and add the peel and a simple butter cream icing. Or how about trying a Spanish orange and almond cake with a runny icing glaze.

As you can see in the picture to the right, I’ve even added carrot peeling and raisins to the mix for a more classic carrot and orange cake. The cooked peel adds a beautifully moist and zingy quality that fruit juice alone cannot fulfil. Either way, it’s a perfect way to use up your old peelings and can even count as one of your five a day!

Food waste soup!

Having met Anna Pitt at Sesi Wholefoods on Monday, I’ve been experimenting with meal ideas created from food waste. I’ve started taking my food waste bin seriously and delving in to discover new and exciting recipes. Many important vitamins and minerals are thrown away when you peel and trim vegetables as most of the nutrients lie just under the skin. If you have to peel instead of just a good scrub, you can save these peelings for use later on.

Food waste soup ingredientsFor example food waste soup. This is an easy introduction (after potato peeling crisps) to using your leftover peelings and reducing food waste. I cooked a chicken earlier in the week, then used the bones to make the best stock ever. I’ve been saving all my peelings, skins and veggie odds and ends in a Tupperware in the fridge, and today was the moment of truth where I combined everything that would have usually just gone in the bin.

After thoroughly washing my veggie waste (potato and carrot peelings, some onion and garlic skins, celery leaves and spring onion tails), I pressure cooked them in the chicken stock I had made earlier. Then I simply blitzed it all with the hand blender!

Food waste soupThe results weren’t exactly a gastronomical revolution, but perhaps more importantly, a nutritious and hearty Winter soup that would go well with any home made focaccia.

I was pleasantly surprised, a dollop of crème fraiche, natural yoghurt or indulgent cream would bring this soup alive!

As all the ingredients were heading for the bin – this soup could almost be considered FREE!

If you like this recipe check out my orange and lemon peel cake – it’s delicious and passed the kids party test.

Wholemeal Focaccia recipe (25p a portion)

I did say I’d get round to making my own bread at some point! This recipe is very easy to make, though you do need to start a day ahead. It jazzes up any soup or salad dinner perfectly. You can vary the toppings with anything that you need using up.

Wholemeal foccacia recipeI met Anna Pitt on Monday who is a big advocate of Zero Waste and she suggested I go through all my cupboards and to see if there was anything that needed using up, and sure enough, lurking at the back of the fridge I found a jar of Jalapeños – I must’ve bought them for a Mexican dish many many moons ago, and some lonely looking sundried tomatoes. They looked fine, and I thought they could make a wonderful topping for a spicy Focaccia to go with the parsnip and coconut soup I made on Monday.

Keeping in local and healthy

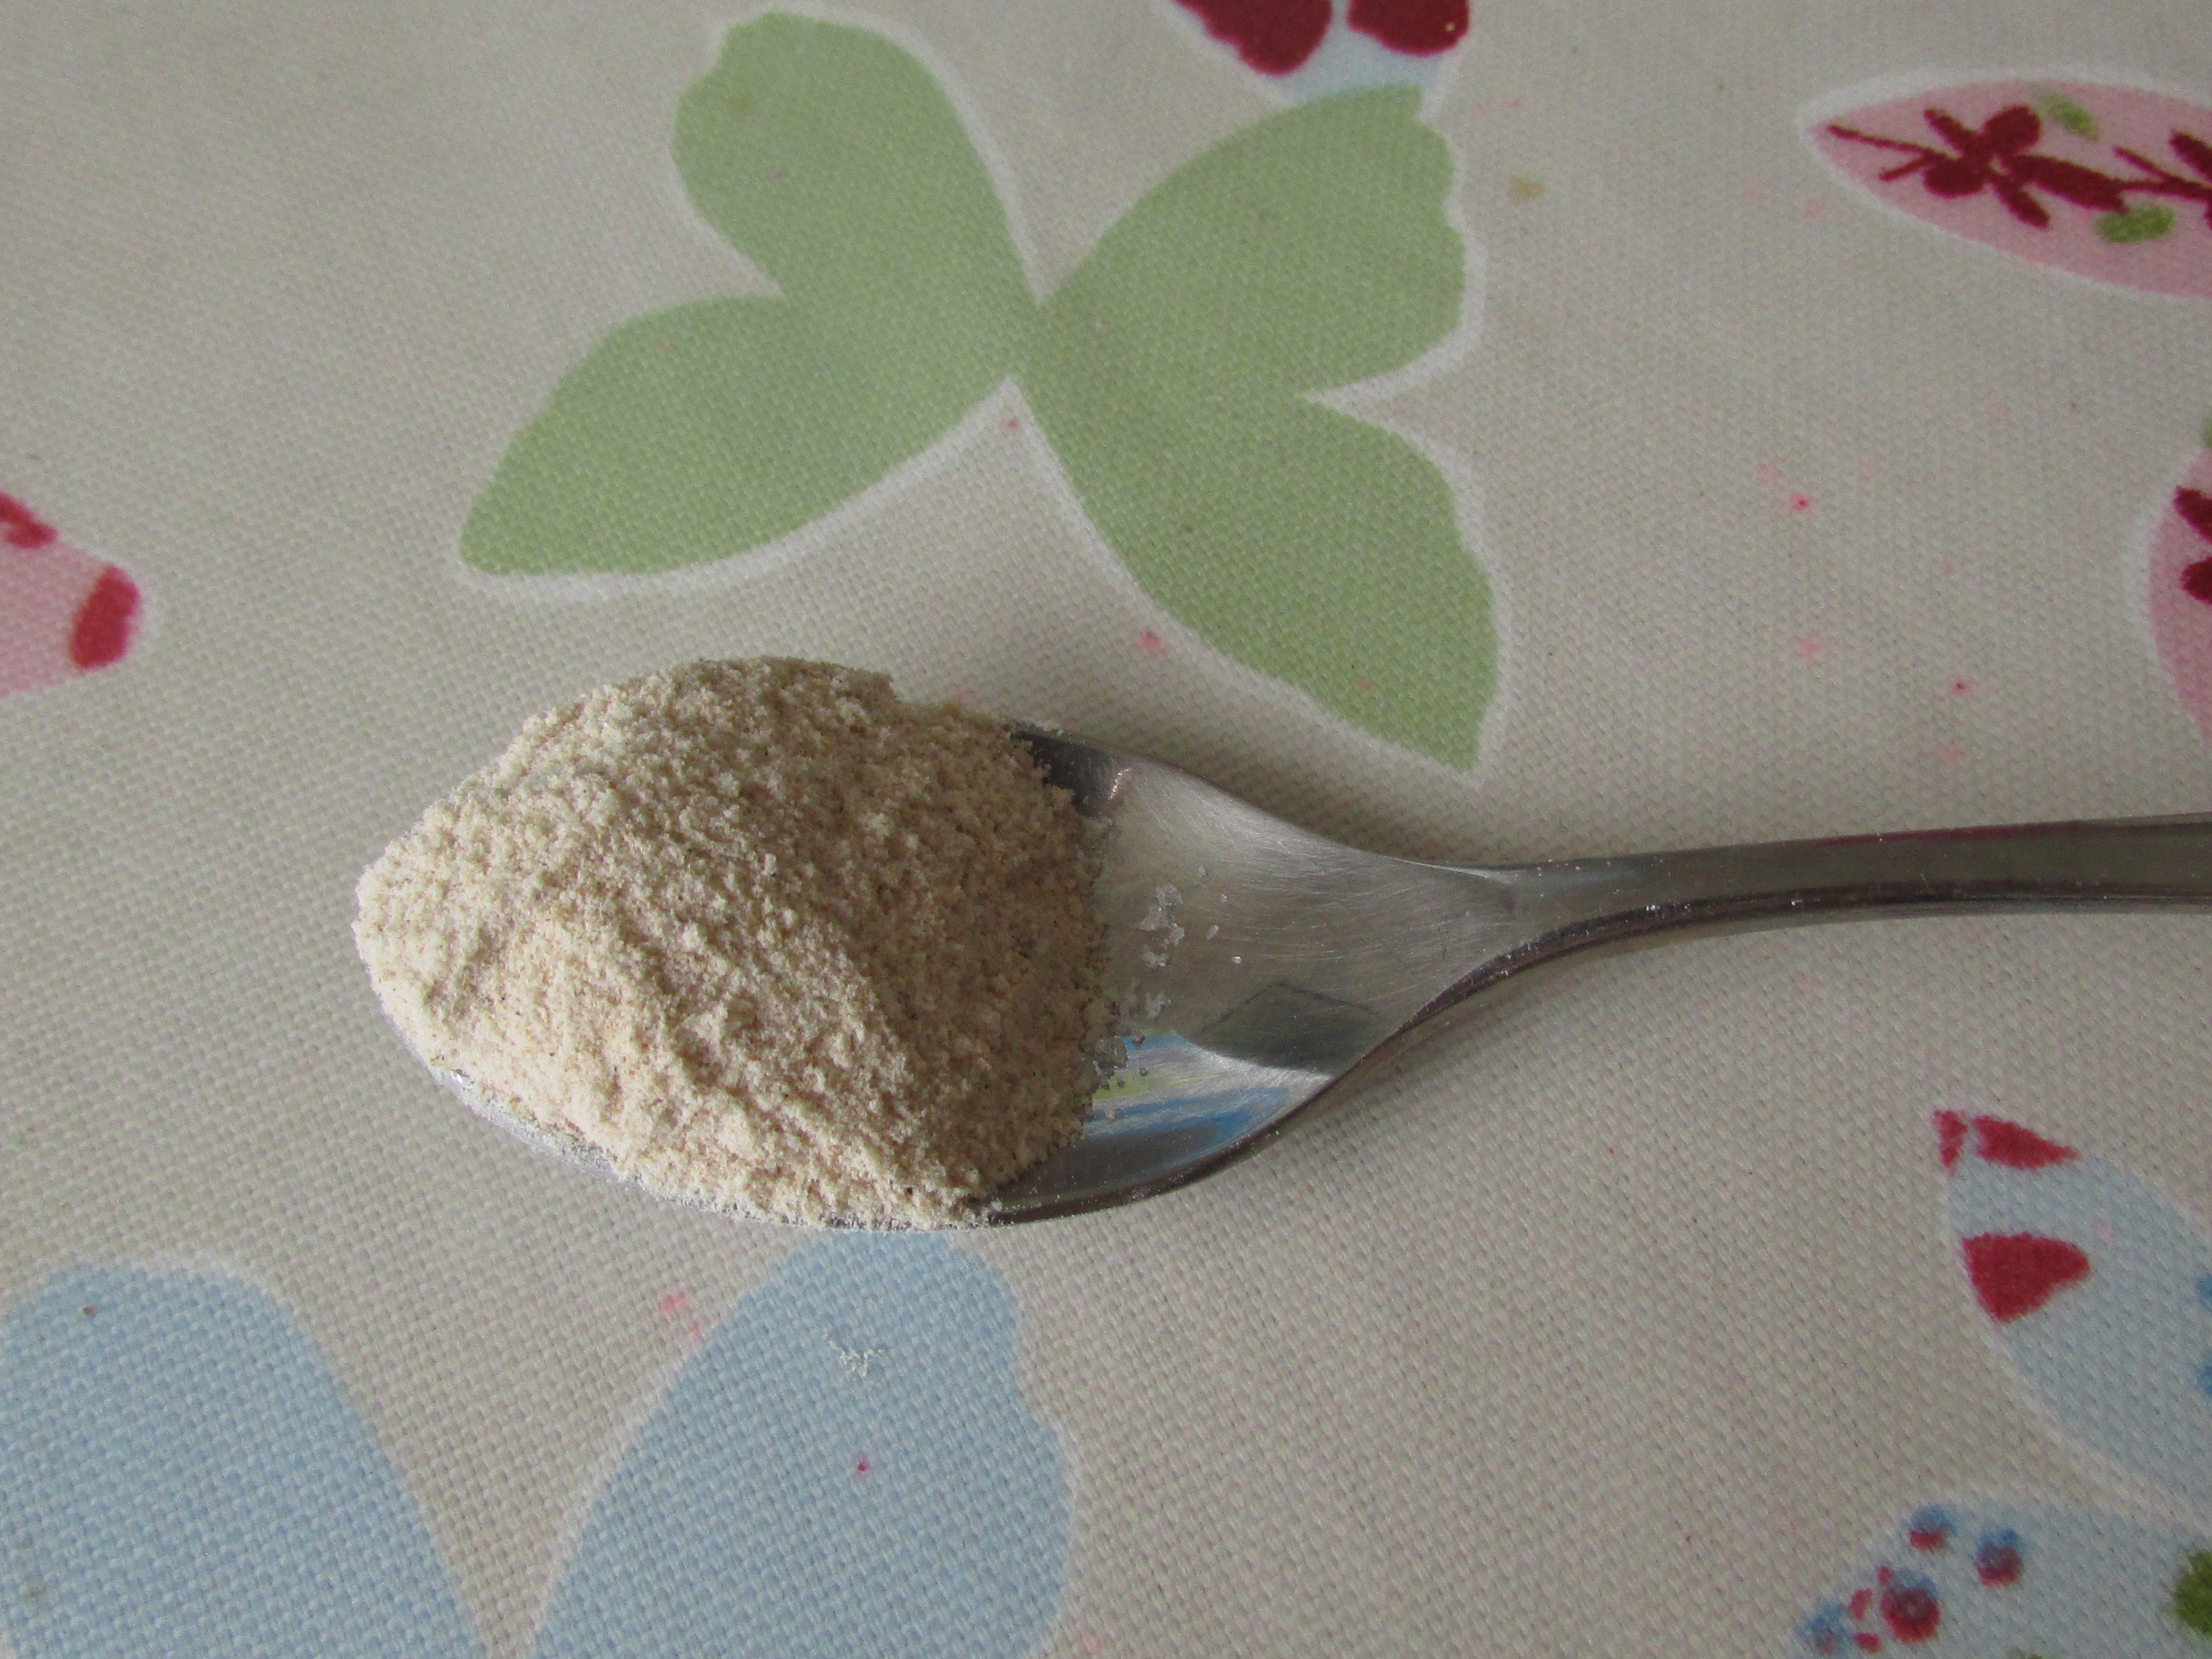
I love using wholemeal grains as they are so much more nutrient dense. Shipton Mill sell their own flour which is grown and milled just down the road in Tetbury, Gloucestershire. A Kilo is a bit more expensive than a Supermarket brand but the taste is second to none. Here’s the recipe – it’s adapted from Peter Reinhart’s wholegrain breads.

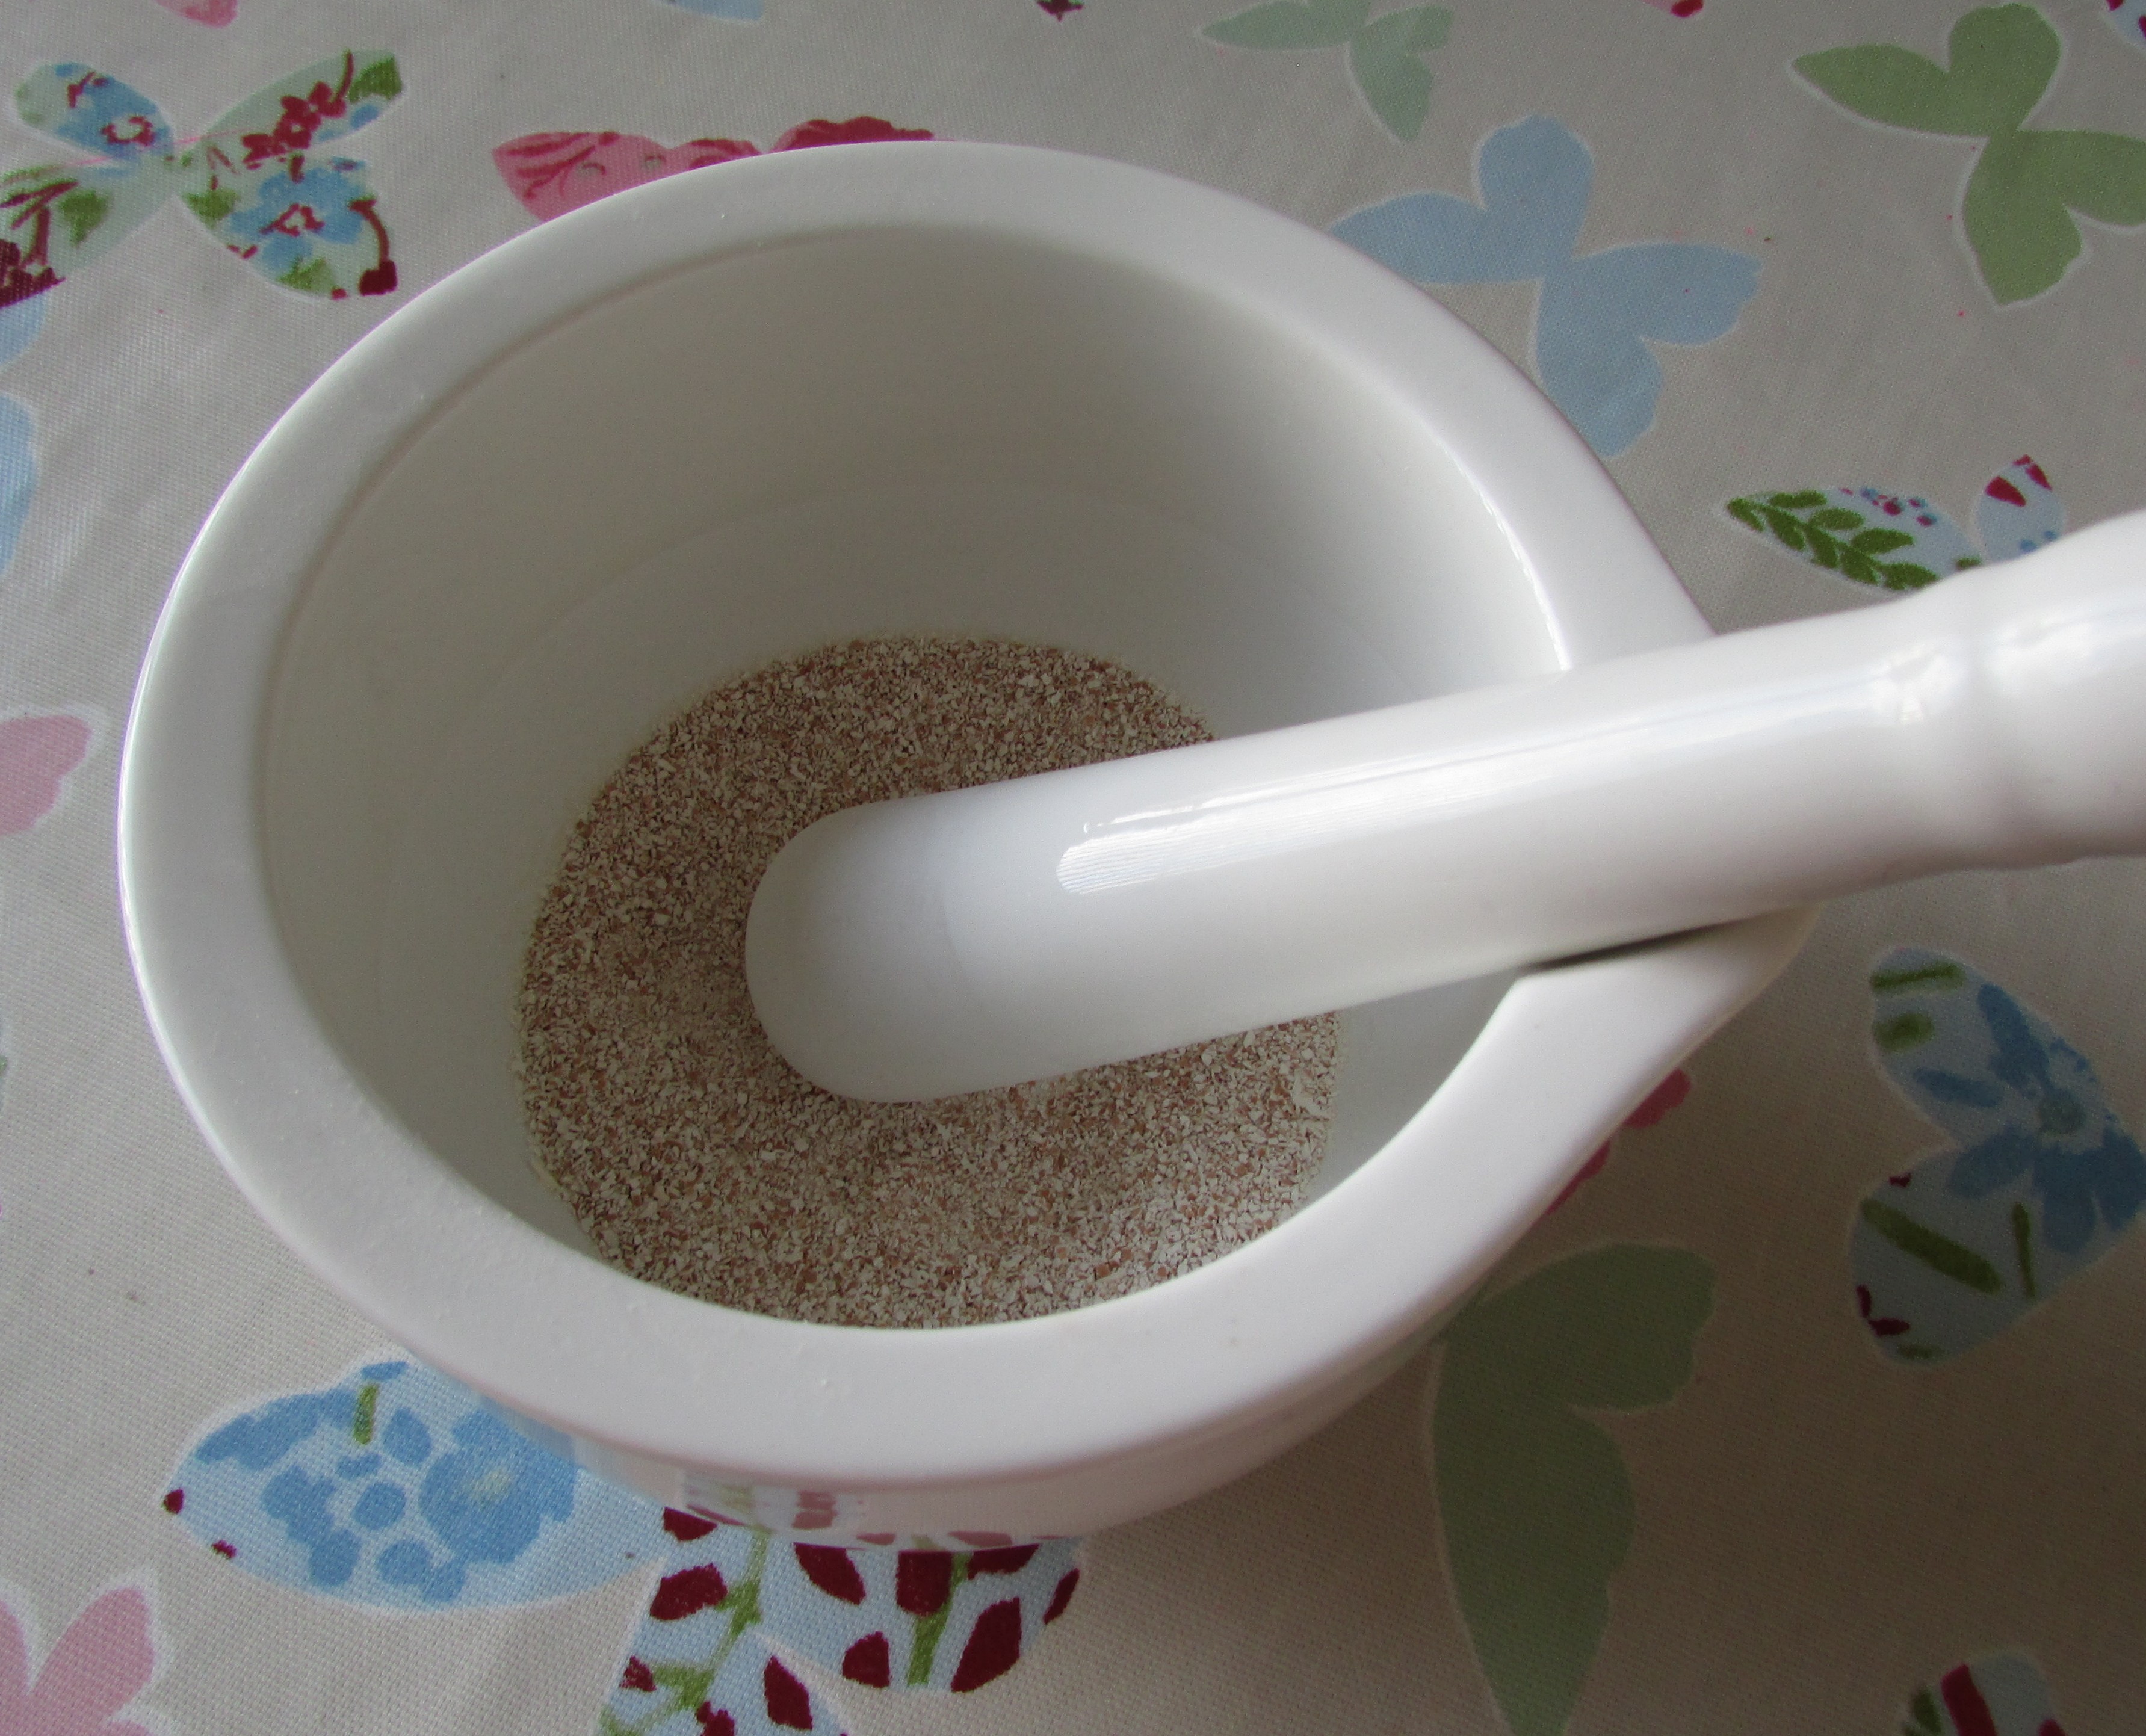
In a bowl, mix 250g of wholemeal flour, 1/2 tsp salt, 5g dried yeast, 240ml warm water and 1 tsp of sugar for 2 minutes.The dough will be sticky, but smooth. Add 1 tbsp of olive oil to the dough and mix for a few seconds. Now let the dough rest, uncovered for 5 minutes and then mix it again for another 2 minutes. If the dough is too wet, add a small amount of flour.

Wholemeal foccacia 1Line a tray with baking paper and add 1/2 Tbsp olive oil to grease the paper including the side walls. Place the dough in the tray. Rub the top of the dough with 1 tsp of olive oil. Flatten the dough a little using the palms of your hands. Don’t worry if it doesn’t cover the entire baking tray, it will once it’s risen. Cover the tray tightly with clingfilm and refrigerate overnight.

The next day take out the dough from the fridge and let it sit at room temperature for 4 hours. Remove the clingfilm covering the dough and drizzle on 1 tsp of olive oil. Using your fingertips, starting in the middle, press the dough so that it begins to fill out the tray. Loosely cover the pan and let it sit for 20 minutes. Repeat this procedure a second and third time. After the third cover the tray and let it sit for 2 hours.

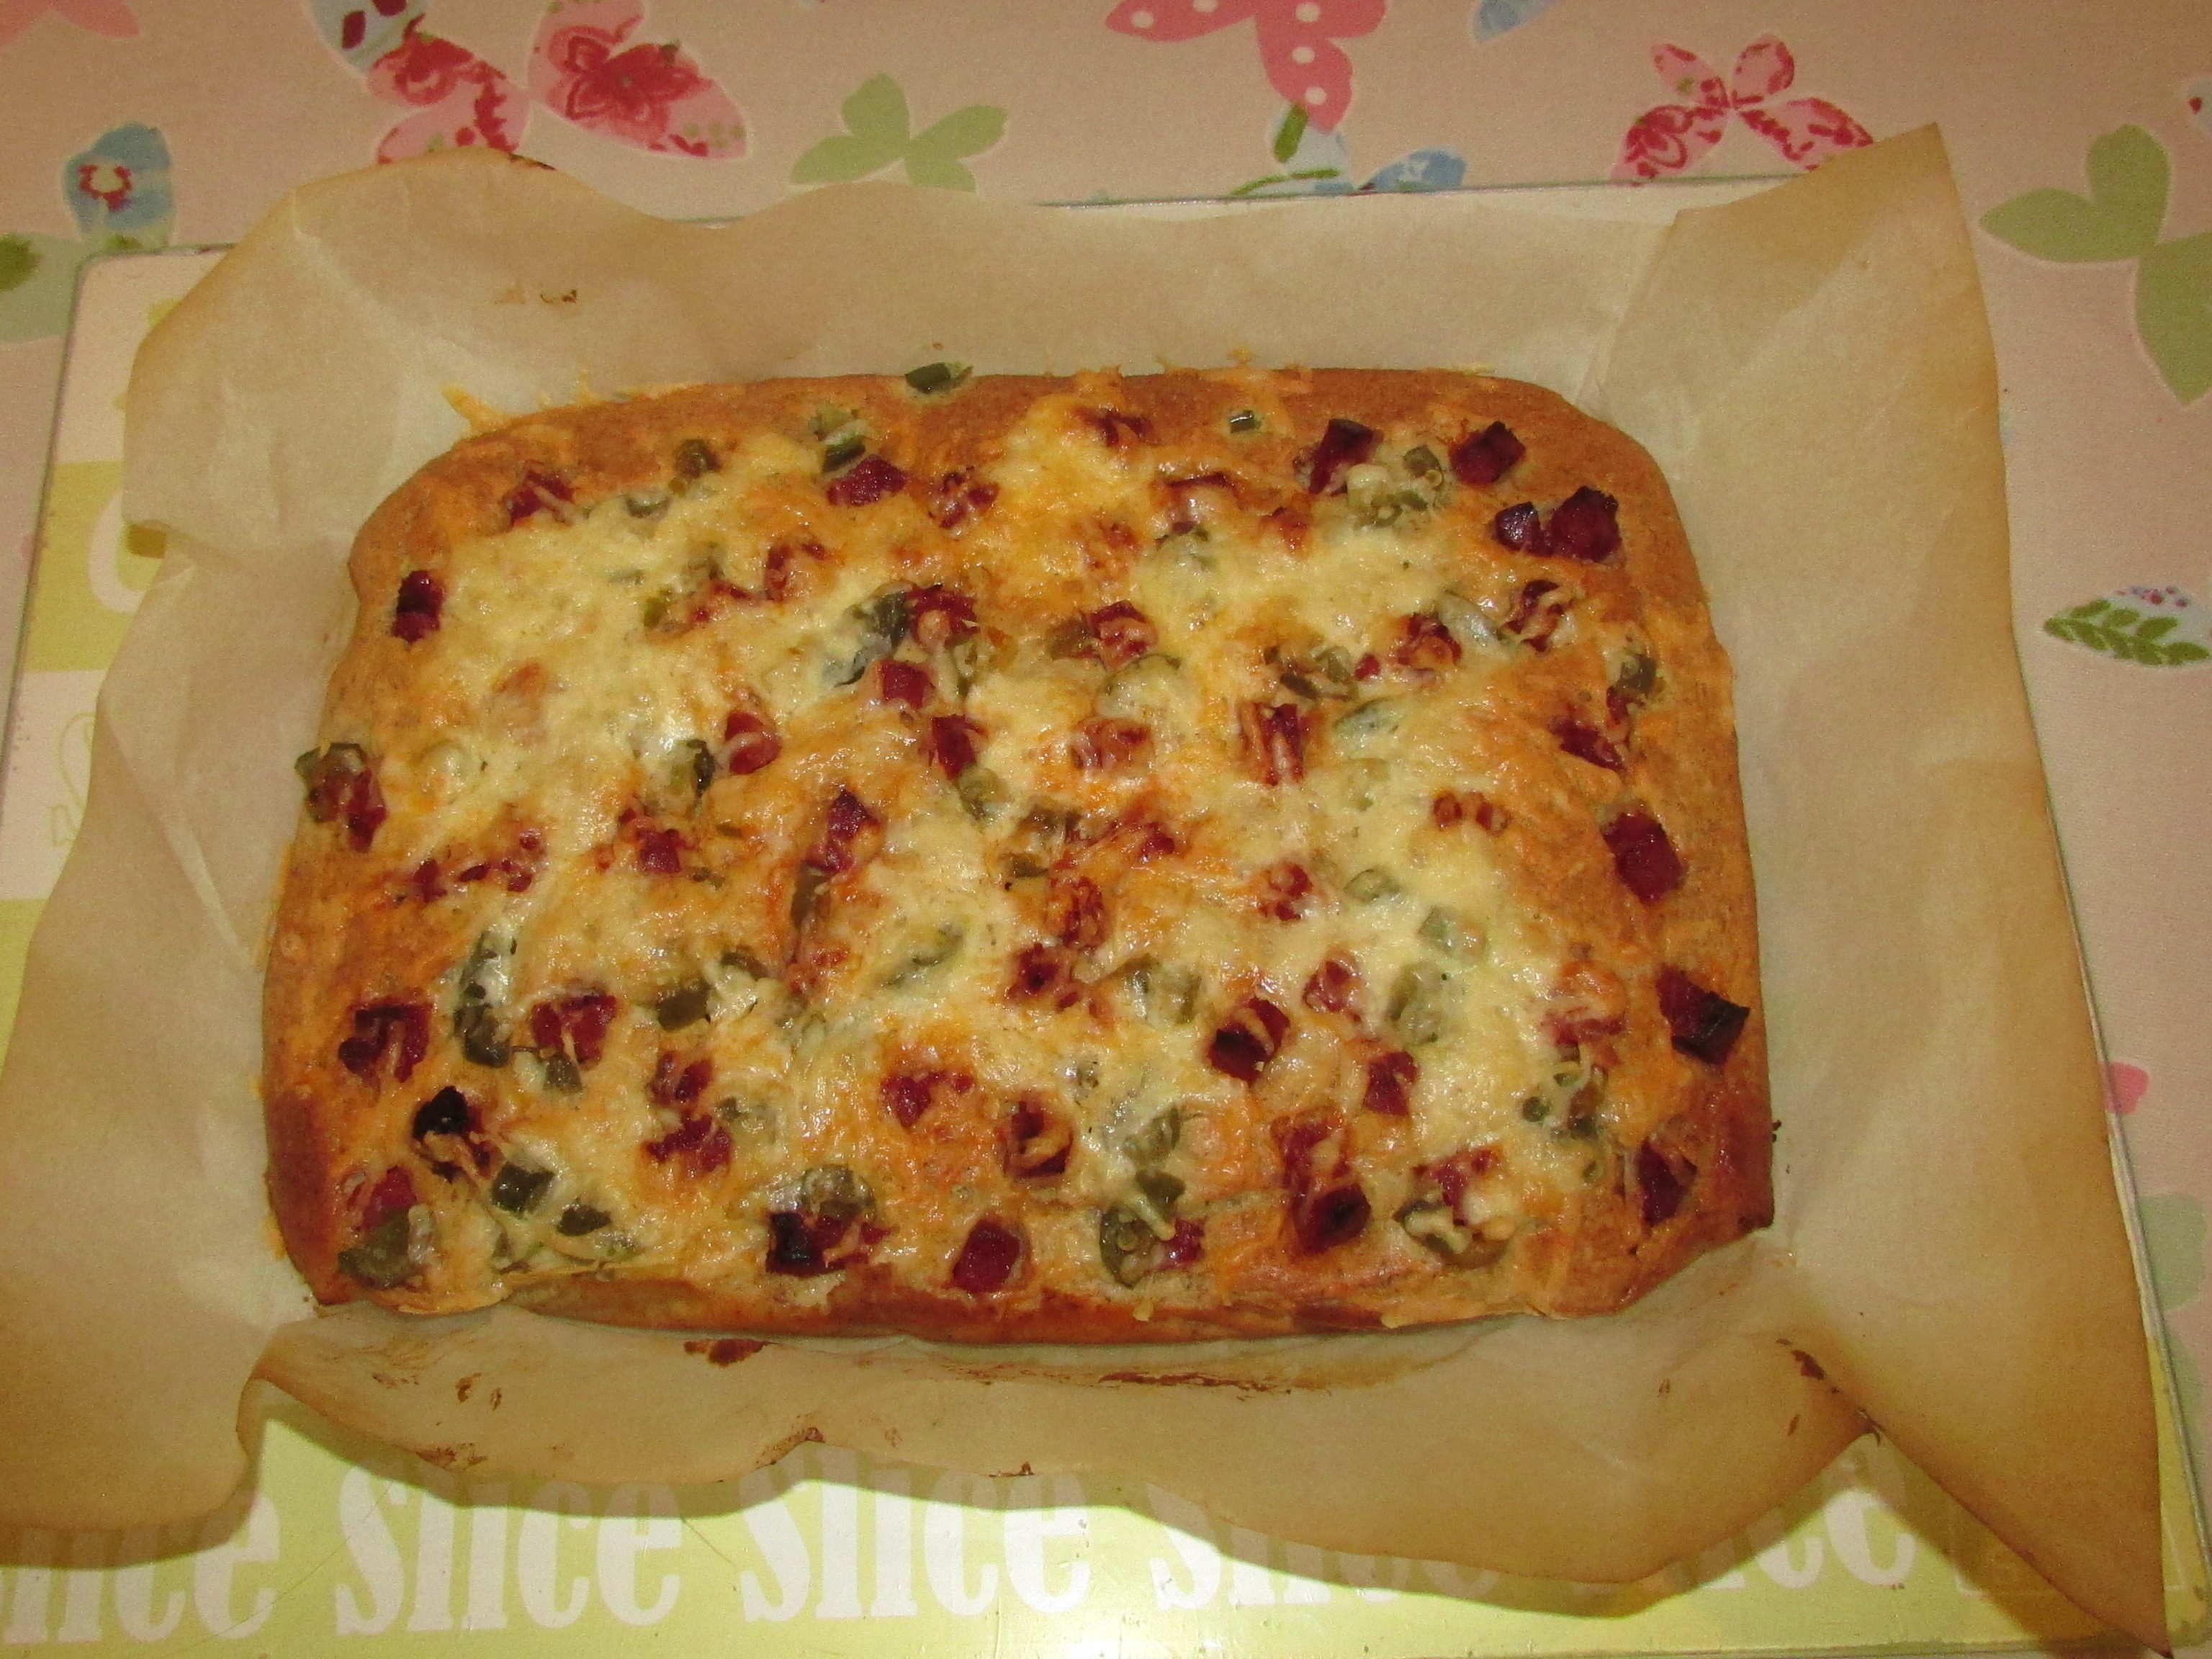
When the 2 hours is nearly over, preheat the oven at gas mark 10 / 260 C/ 500 F. Sprinkle on your toppings – I used jalapeños, sun dried tomatoes and a grating of cheese, but just herbs, sea salt and olive oil would also be delicious! Reduce the oven temperature to gas mark 8 / 230 C/ 450 F and bake for 15 minutes. Turn the tray around 180 degrees and bake for another 10 minutes. Remove it from the oven and cool on a wire rack. Slice and enjoy!

Budget

250g whole wheat flour = 32p
Salt, yeast, sugar = 5p
Olive oil = 5p
Tomato = 10p
Cheese = 30p
20g Jalapeños = 10p

Total = £1.02 (25p a portion)

Spicy parsnip & coconut soup (29p a portion)

I love parsnips, roasted and sweet on a Sunday lunch. But quite often there’s a lot leftover, or we get extra in our veggie box delivery, and if there are, this is what I like to turn them into –  a spicy soup.

Spicy parsnip and coconut soupResearch shows that compounds found in parsnips have anti-inflammatory, anti-fungal, and anti-cancer function and offer protection from colon cancer and acute lymphoblastic leukaemia! They’re also a rich source of many B-complex vitamins such as folic acid, vitamin B-6 (pyridoxine), thiamin, and pantothenic acid as well as vitamin K and vitamin E. And also contain healthy levels of minerals like iron, calcium, copper, potassium, manganese and phosphorus; important for bone and heart health.

All you need to do to make this soup is fry 2 white onions and 4 cloves of garlic in a little olive oil until soft and brown. Add 1 tbsp of garam masala and 1 small red chilli and continue to fry for a minute or two. Then add in 3 parsnips and 2 carrots chopped into small pieces. Add 100g creamed coconut and 6 cups of water. Season with salt and pepper and simmer for 30 minutes until the vegetables are soft enough to blend. If you’re using already roasted parsnips then this time will be much shorter. Blend with a hand blender and serve with crusty bread. It’s a Winter warmer.

Coconut  = 50p
Parsnips & carrots = 50p
Onions, garlic & chilli, garam = 15p
Total = £1.15 for 4 generous bowls


Budget Beany chilli (52p a portion)

bean chilliI love this time of year for warming meals that you can leave to simmer for hours until all the flavour mingle and enhance.

A bean chilli is a true example of this – the longer it cooks the richer it becomes.

When cooking for kids I tend to go easy on the actual chilli, but do serve some sliced red firecrackers on the side in case anyone’s feeling adventurous.

I also find it fun to serve little additions to make the bean chilli more interesting, and it’s a great way to use up leftover cheese or a browning avocado. Here’s the recipe –

Soak 1 cup of each dried chickpeas, pinto beans and yellow split peas over night in plenty of water. Make sure you use a large bowl as these all expand. Rinse thoroughly and boil until tender in salted water (45-60 minutes). In a large heavy bottomed casserole dish fry 2 white onions and 5 cloves of garlic in a little olive oil. Add in whatever vegetables you have in the fridge that you’d like using up. I put in 3 carrots, a red pepper and a parsnip but courgettes, potato and pumpkin work well too. I slice the vegetables into small pieces so that they’ll cook easily.

Add 2 tins of tomatoes, 3 tbsp of tomato purée, 1-3 small dried red chilli’s (depending how hot you like it), 3 tsp of smoked paprika, 1 tsp of cumin and 2 cups of water. Season with salt and pepper, put the lid on and place in a moderate oven (gas mark 5 / 190C) for 1-2 hours. Stir occasionally and add more water if needed. If I have any red wine leftover I pour a glug in to make the sauce richer but this isn’t necessary.

Once the sauce is thick and reduced serve hot with rice or corn tortillas (I’ll be posting a recipe for these soon). I also enjoy a sprinkling of cheese and some guacamole  – deliciously hearty and tasty. This recipe is enough to feed a family of 4 for two nights.

1 cup dried chickpeas – 25p
1 cup dried yellow split peas – 25p
1 cup dried pinto beans – 25p
2 tins tomatoes – 64p
3 tbsp tomato purée – 10p
Herbs, garlic, chilli – 10p
Vegetables – £1
Cheese – 75p
Avocado – 50p
Rice – 12p

Total = £4.16 for 8 portions (52p a portion)